License and Dashboard Resources
Getting Started
Check out the Getting Started with CodeSpace page to learn more about:
- Claiming a license
- Creating a classroom
- Adding students to a classroom
- Student instructions for logging into CodeSpace
- Student instructions for creating an account in CodeSpace
Teacher Dashboard
If you're a CodeSpace Teacher, you can monitor student progress in our Teacher Dashboard!
To set up your classroom:
- Login to CodeSpace at make.firialabs.com (opens in a new tab) using the google account you use as a Teacher.
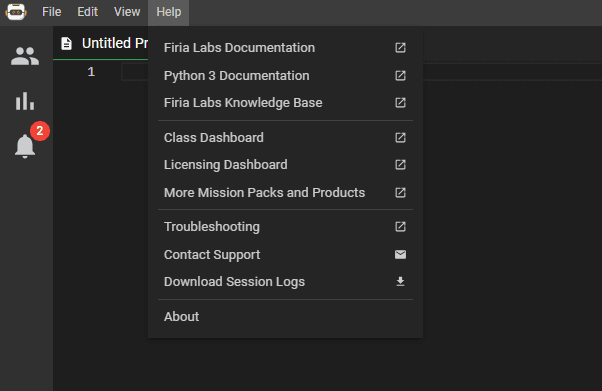
- Select Class Dashboard from the Help menu.
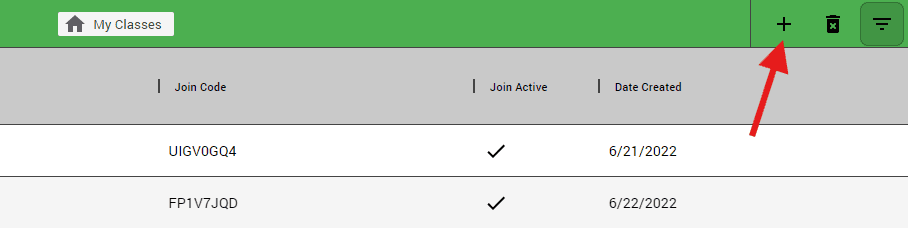
- Once on dashboard.firialabs.com (opens in a new tab), click the + button in the Green Bar, Top Right to add a New Class.
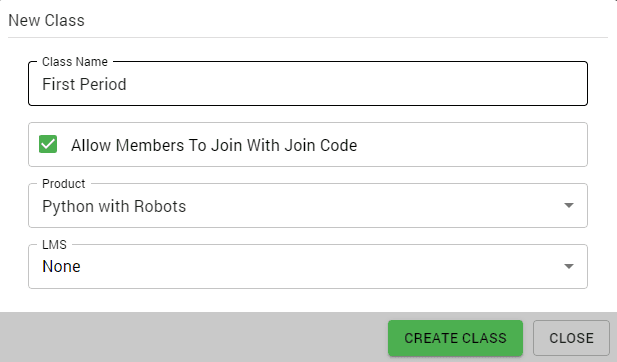
- Assign each class a name and pick which curriculum you want to progress monitor.
- Once created, you can Edit the classroom, get a new Join Code, and Disable joining.
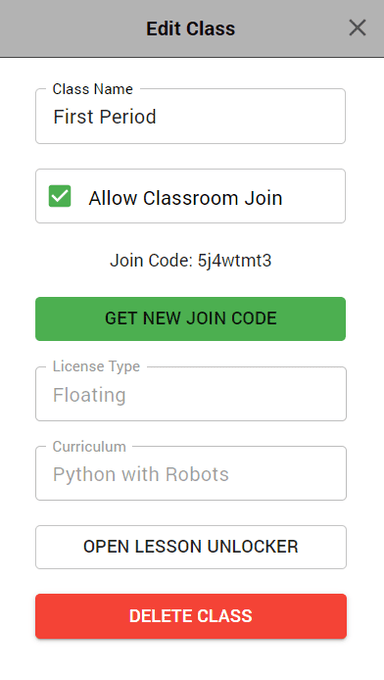
-
In each class, you can delete a student using the remove function.

-
After you’ve set up your classes, Students go to make.firialabs.com (opens in a new tab), and Login by clicking the button on the bottom left of the page:

-
Next, the student can click on the Select Class button on the top left:

-
A pop-up will show all the classes the student is in. The student can click the JOIN CLASS button in the top right corner of the pop-up to enter your Classroom Join Code.
-
When the student enters the Join Code, that class should automatically be activated and the student can start working.
License Sharing
Licenses can be co-owned by an unlimited number of users. To share your license, follow along at license.firialabs.com (opens in a new tab). If you get confused at any point, or just need some help, feel free to email support@firialabs.com and we’ll get back to you promptly.
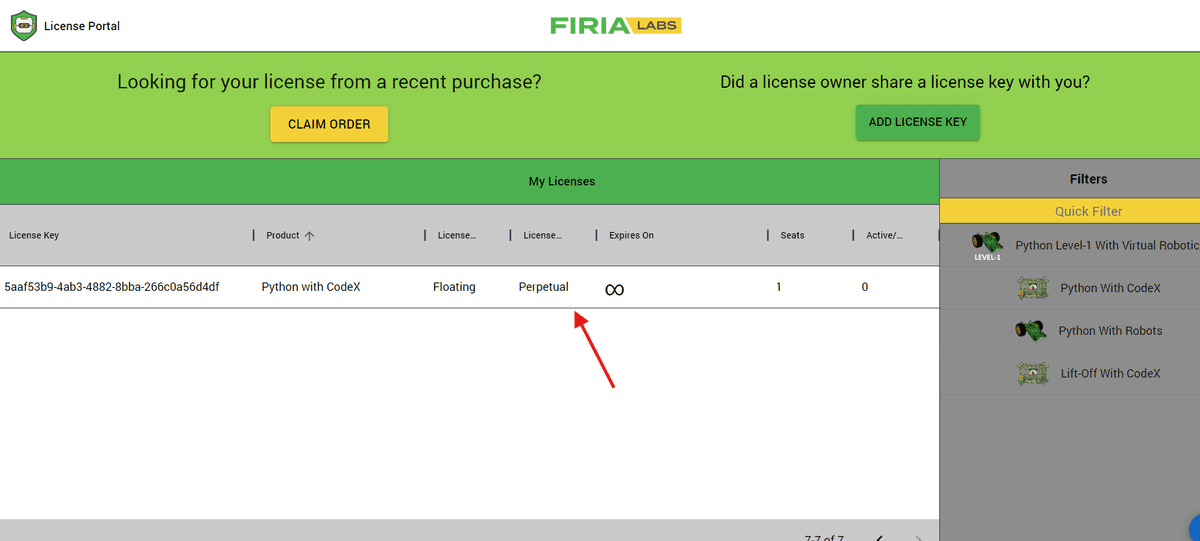
To start, click on the row of the license you’d like to share. Don’t see any licenses? There are two possible reasons:
- You need to claim your license by clicking the ‘Claim Order’ button and entering your ‘Claim Code’.
- You’re not logged into the account that you’ve claimed your order on.
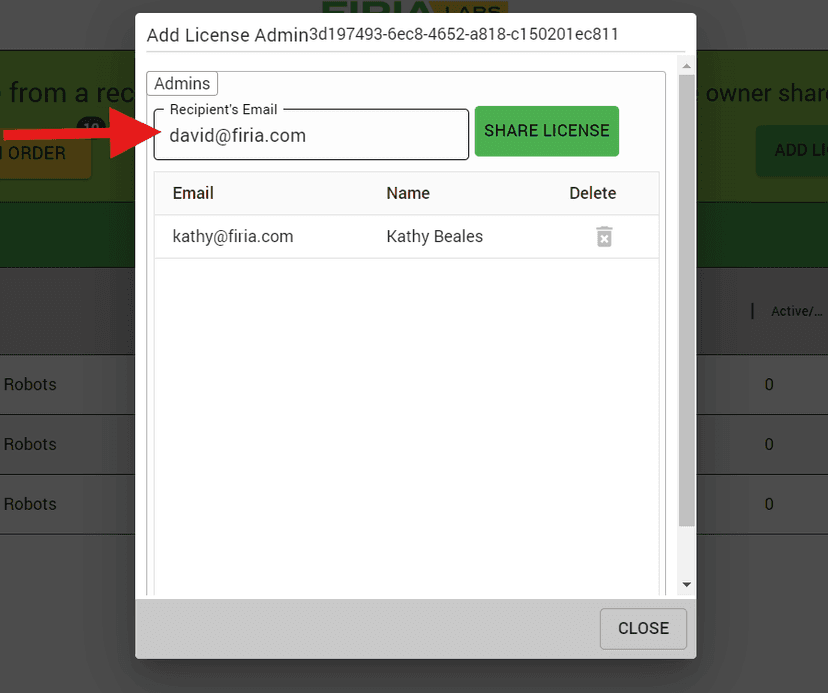
After clicking on the license, a dialog should have popped up. Next, enter your license recipients email in the text box, then click the ‘Share License’ button.
If everything went well, your license now has a new admin!
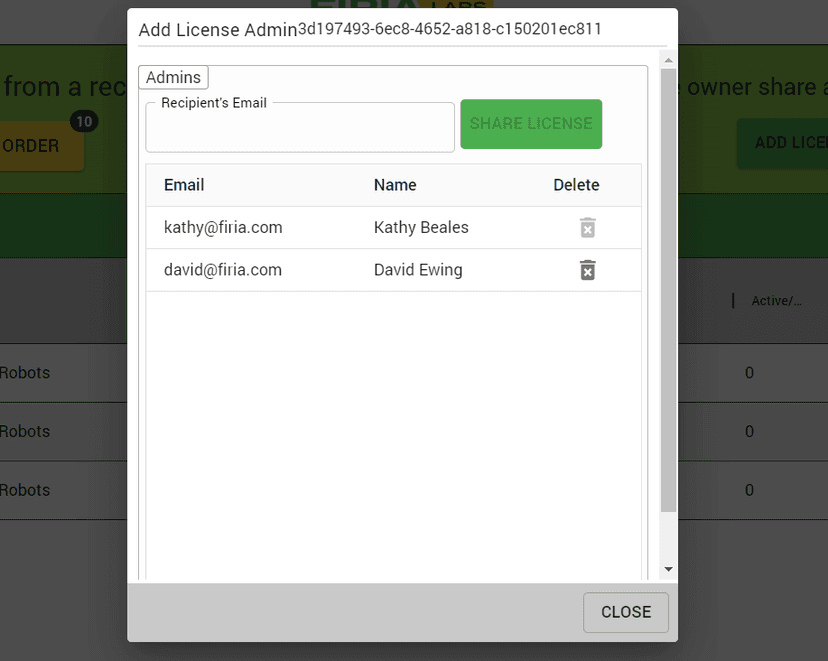
Just a reminder, your new admin has the same level of access to the license as you do. They can even remove you after you add them! Choose your admins wisely.
Google Classroom
- Go to classroom.google.com (opens in a new tab) and login.
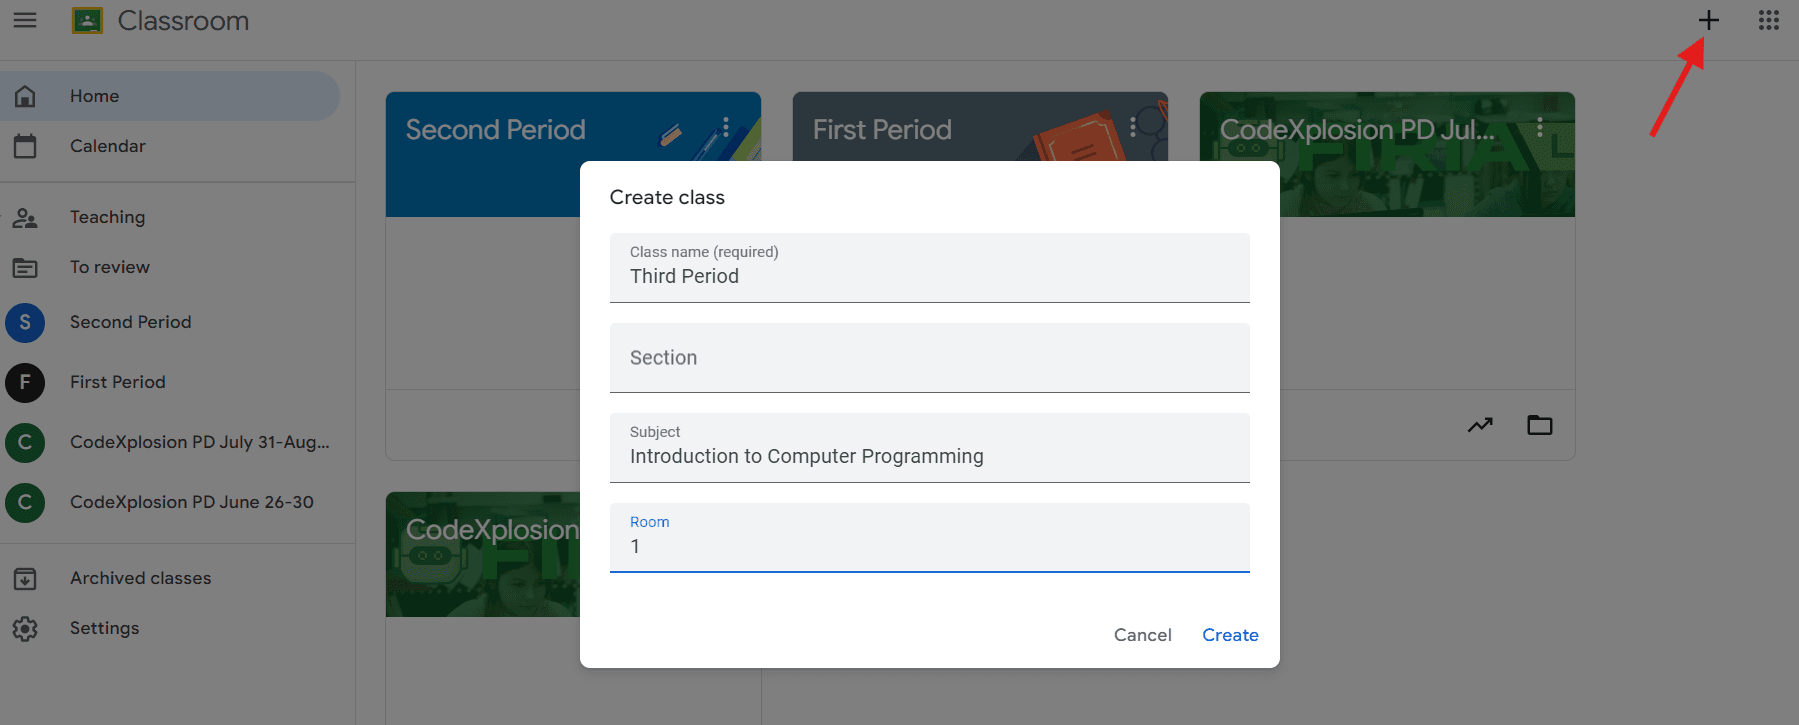
- Either create a new class or find the name of the class that you want to link to CodeSpace. To create a new class, find the + sign in the top right corner of the page.
Important Note: Make sure to use the same email address for CodeSpace and Google Classroom so the accounts are able to link up. Also, name your class in CodeSpace and Google Classroom the same name.
- Now that you have your class created, go to dashboard.firialabs.com (opens in a new tab) and log in. On the top right hand side of the page in the green bar, click + to add a class.

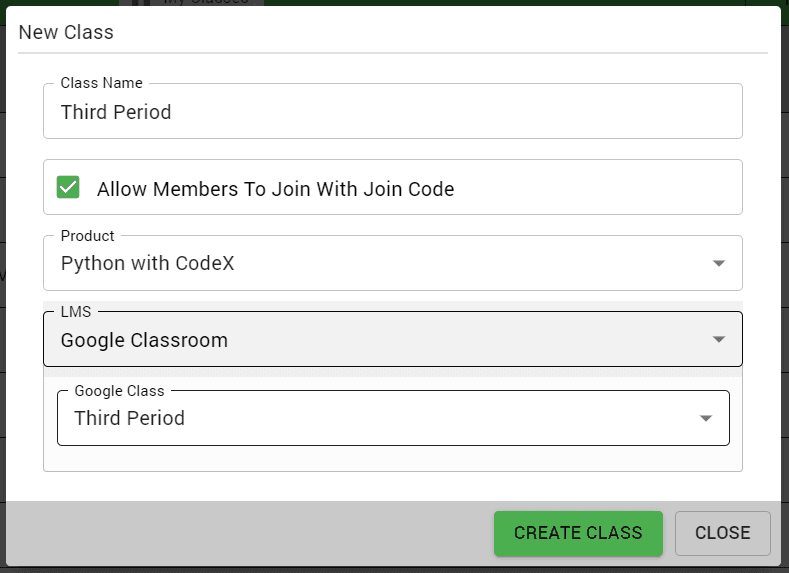
- Name your class, select your product, and choose Google Classroom in the LMS pulldown menu.
- Next, find the name of your class in the Google Classroom LMS pulldown list, click to select, and click Create Class. Click the green "Authorize" button if required. Once authorized your class will show in the "Google Class" pulldown.
- Now that your class is linked, click on the name of your class in the Teacher Dashboard and look at the right-hand side of the screen. Click the button that says “EXPORT CODESPACE ASSIGNMENTS TO LMS.” A pop-up will appear; then click Generate Assignments. Note: If there are assignments that you do not want to link, unclick them before generating.
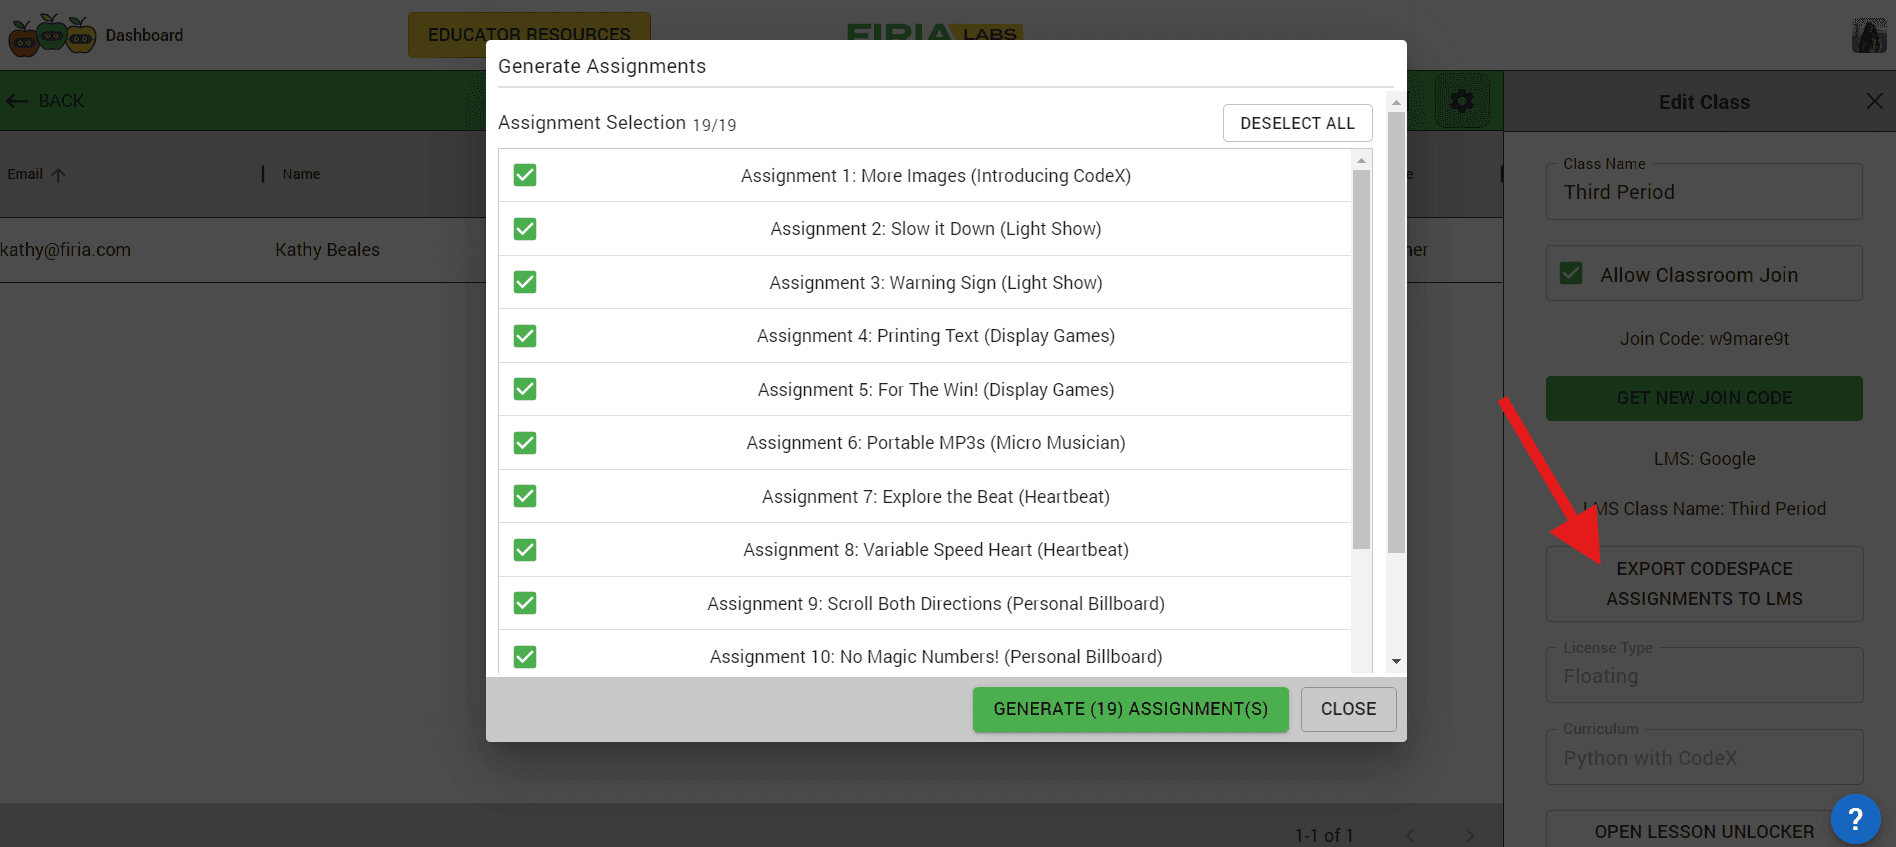
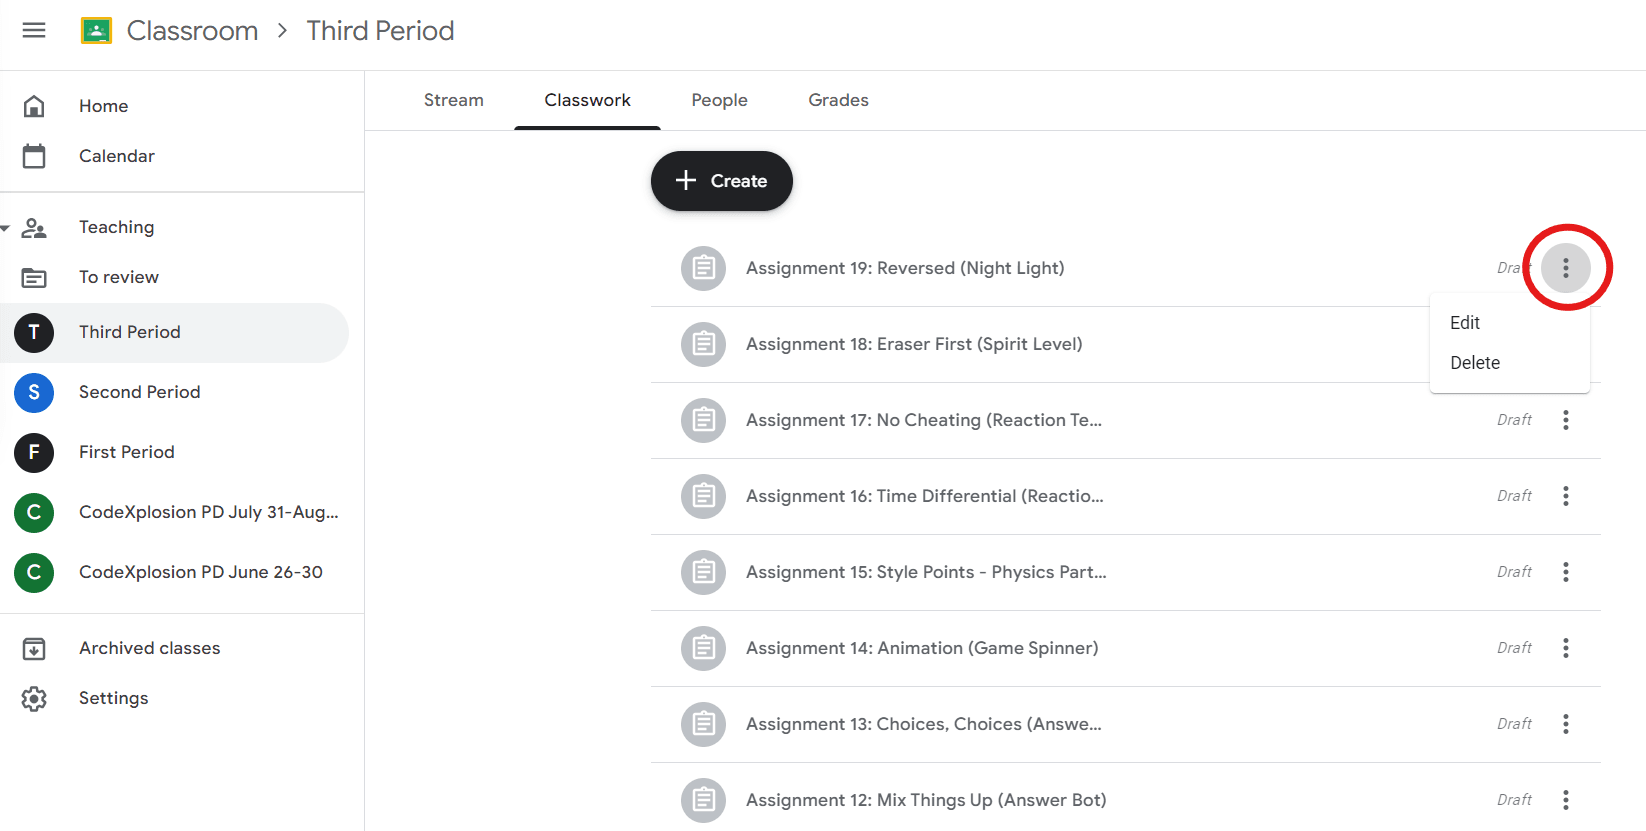
- Click “Close” on the pop-up window. Now the generated assignments will appear in Google Classroom under Classwork.
- You will need to click into each assignment, and “Edit assignment” to provide instructions to your students and to set a due date in Google Classroom. Fill out all necessary information in Google Classroom and click “Assign” in the top right corner. Now, your students will see the assignment that you have posted.