Instructions for Haunted Code Chronicles 2024
Getting Started for Teachers
Step 1. If you are a teacher wanting to register your class for participation, please email kathy@firialabs.com to request a competition license.
- The free competition license will give teachers access to the Teacher Dashboard, allowing teachers to check student progress.
- If you are registering as an Individual (Indy), no license is needed. Please go to Getting Started for Individuals
Step 2. Claim your License
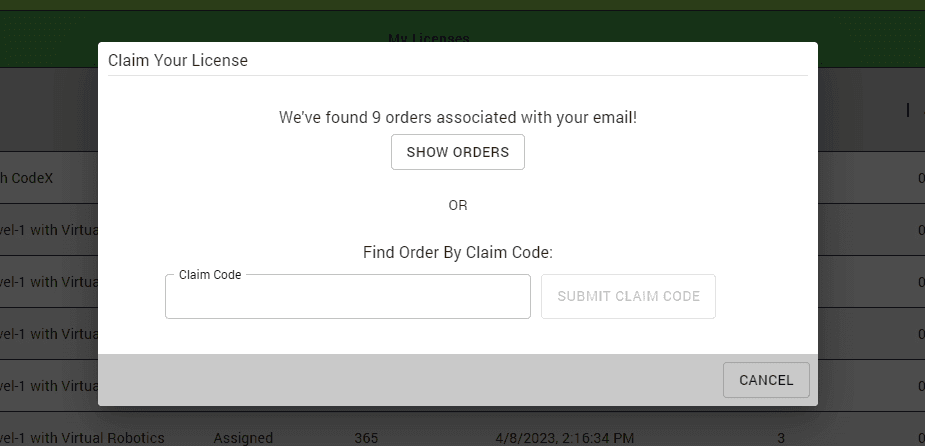
A. Locate your email titled "CodeSpace Claim Code - Firia Labs" from info@firialabs.com.
B. Log into the License Portal (opens in a new tab) and click the CLAIM ORDER button.

C. You have two options here:
- If you are using the same email that the order was placed with, you'll see a message that says you have an order associated with your email. Click SHOW ORDERS.
- Copy & Paste the Claim code from your email in the 'Find Order By Claim Code'. Then click SUBMIT CLAIM CODE.
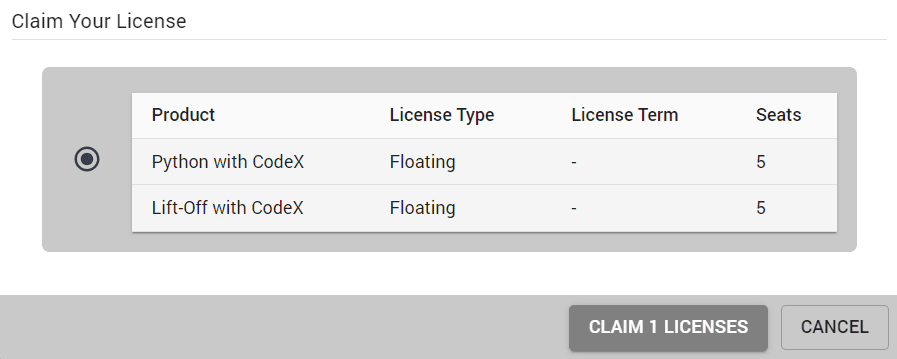
D. Select the license you want to claim and click the CLAIM LICENSES button.
E. Activate your license! All Haunted Code Chronicles competition licenses will expire on October 31, 2024 at 11:59 PM CT. Additionally, activation is required to set up your classroom in the Teacher Dashboard.
Step 3. Create a Classroom
A. Once your license is activated, proceed to the Teacher Dashboard (opens in a new tab).
The list will be blank if you have not created any classrooms yet.
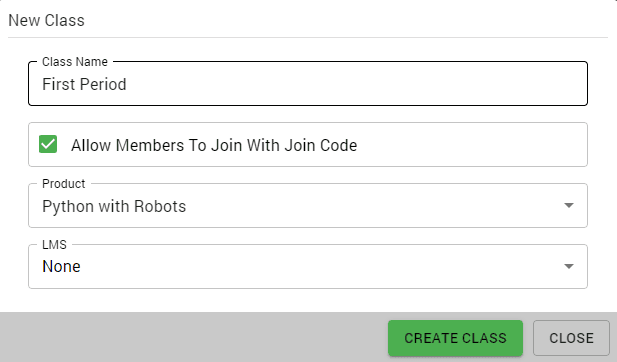
B. Click on the Add Classroom button in the top right corner of the table. It looks like this:

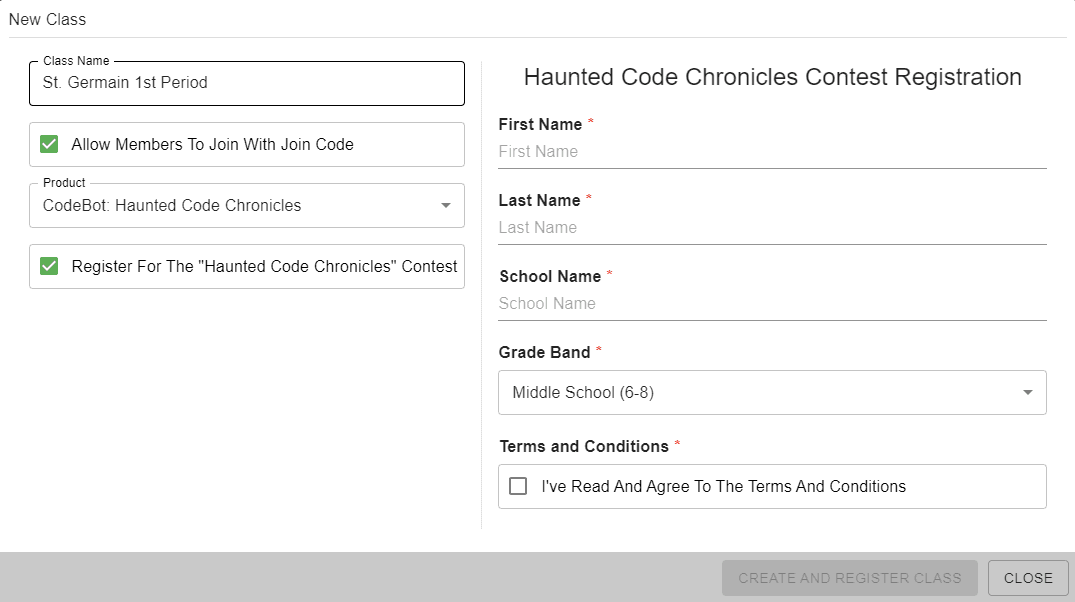
C. Provide a Class Name and select Haunted Code Chronicles for your classroom. To enable students to join your classroom using a Join Code, ensure the corresponding option is selected. For adding students manually through their email addresses, deselect this option. If you're using Google Classroom as your Learning Management System (LMS), this is the step where you connect it.
Step 4. Adding Students to a Classroom
As a teacher you can add students to your class two different ways:
A. If you selected Allow Members To Join With Join Code when you created your class now you can share that code with your students.
- The join code is listed in your table of classrooms here:

- The student can join the class by first heading to CodeSpace (opens in a new tab).
- Then the student must Log in to the site by clicking the Login button on the left. It looks like this:

- Next the student can click on the Select Class button on the left. It looks like this:

- A pop-up will show all the classes the student is in. The student can click the JOIN CLASS button in the top right corner of the pop-up to enter your classroom Join Code.
- When the student enters the Join Code that class should automatically be activated and the student can start working!
B. Alternatively, you can manually add students to your class. You will start at the Teacher Dashboard (opens in a new tab).
- Click on the Class that you want to add students to. You will click right on the row for the class. This will bring up a new table that lists all of your students.
- Click on the "plus" button in the table header. It is the same button you used to create a new classroom. It looks like this:
- Select Member for the "Role" and type in the user's email address. This can be done even before a student has a Firia Labs account.

- Now click the ADD MEMBER button. The pop-up will close and the member should now show up in the list of users.
Logging in for the Student (Written Instructions)
Step 1. Log in to CodeSpace
A. Proceed to CodeSpace (opens in a new tab).
B. Log in with your user account (or create an account if you do not have one yet) by clicking the Login button in the lower left corner of the screen. It looks like this:
Be sure to use the same email address to log in as the teacher used to add you to the class. C. After you are logged in, the icon in the lower left will change to indicate success.
Step 2. Activate a Mission Pack
A. Once you are logged into CodeSpace (opens in a new tab), you can activate a mission pack.
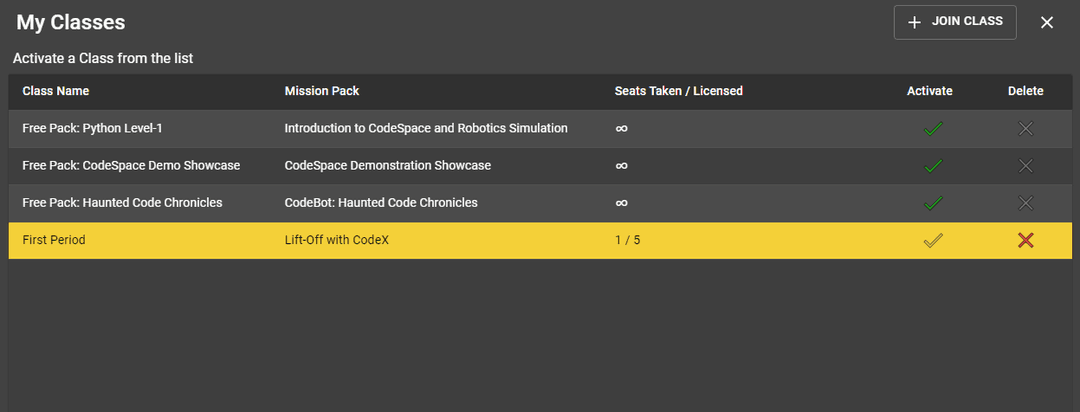
B. You will click on the Select Class button on the left-hand side of the screen. It looks like this:
C. A pop-up will appear showing all of the mission packs that your account has access to. Click on the green arrow of the correct class and it will automatically activate your class.
D. If your mission pack is not there and you were given a Join Code by your teacher you can click the JOIN CLASS button at the top right corner of the pop-up. This will automatically activate that class for you.
E. Now you can get started coding!
Important Information
- Once students are registered, they can access the competition through the registered Class Name OR through the Free Pack: Haunted Code Chronicles.
- The competition scores will be reset to "0" once the competition begins October 1. If you work in the Free Pack before this time, your progress will be reset. New changes to the competition course will be available on Oct. 1.
Getting started for the License Holder or Teacher (Video)
This video covers creating accounts, activating licenses, and building classrooms. This video is from the teacher’s perspective but can also be useful for an individual user looking to claim their license.
Logging in for the Student (Video)
This video shows the steps for a student or individual user to join a class and access the site content.
To Check if You are Registered
- Go to make.firialabs.com (opens in a new tab).
- Log in with your user account.
- Once logged in, look to the left sidebar and click Progress and Contests:

- If registered, you will see confirmation at the bottom of the box:

Getting Started for Individuals
- Go to make.firialabs.com (opens in a new tab).
- Log in with your user account (or create an account if you do not have one yet) by clicking the Login button in the lower left corner of the screen.
- Once logged in, look to the left sidebar and click Progress and Contests:
- Next, click Individual:

- Fill out the Haunted Code Chronicles registration form and submit:

- Now, click the Progress and Contests again, and you will see that you are registered for competition:
- To begin competing, find the Select Class icon in the left sidebar:

- Next, find the Free Pack: Haunted Code Chronicles in the class selector, and click the green check mark to activate and begin:

Important Note: The competition scores will be reset to "0" once the competition begins October 1. If you work in the Free Pack before this time, your progress will be reset. New changes to the competition course will be available on Oct. 1.