CodeX Wet Paint App
Birth of an Idea
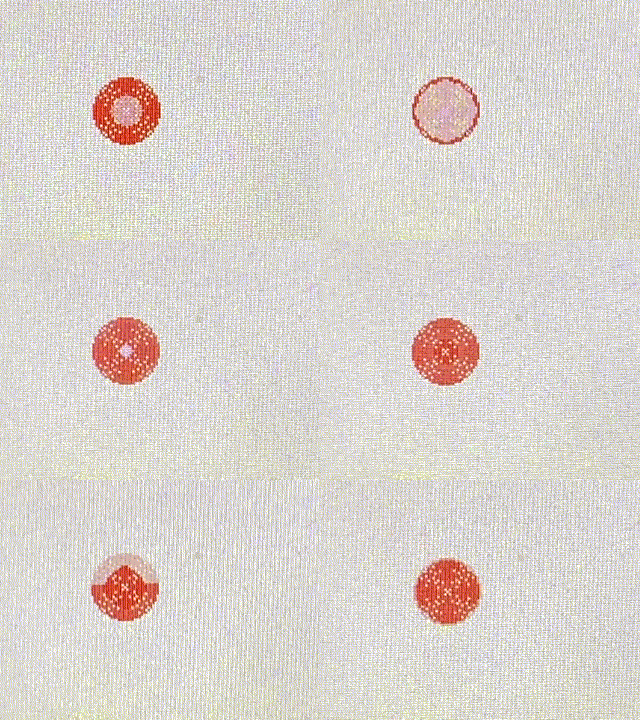
During Pathfinders summer 2022 week I decided to go through the Python with CodeX Mission 11: Spirit Level to get my feet wet with the latest CodeX firmware and the next generation CodeSpace Development Environment, in order to better assist our teacher students as they experienced the joys of coding in python. I chose this mission because it focused on the accelerometer sensor (which I think is the coolest sensor) and I wanted to build something on top of what was taught in the existing curriculum. But what should I build? I know! How about a 2-axis level? In mission 11 I learned how to find the CodeX tilt angle in the x direction and so it was very easy to include the y direction as well. Okay, now what? The new 2-axis level worked just as I expected but the “bubble” was just an empty circle and hard to see. So to fill in the circle with some color, I went to the CodeX python module application programming interface (or more simply called the API) help documentation located here… bitmap - Pixel manipulations (opens in a new tab) Hmmmm, rectangles have a color fill function called fill_rect(x: int, y: int, width: int, height: int, color: int), but to my chagrin, circles do not have a similar color fill function. No problem! I’ll just write the python code myself. Here it is…
for r in range(1, brush_size):
    display.fill_circle(x, y, r, color_fill)
By simply drawing concentric circles from 1 to the brush size radius I’m able to fill in a nice looking circle. But there’s a catch! When this bubble circle moves on the screen I need to erase its original position and redraw in its new position. The refresh rate of this erase and draw code is very slow and it doesn’t look very good. It pulses in a very disturbing way so don’t look too long.

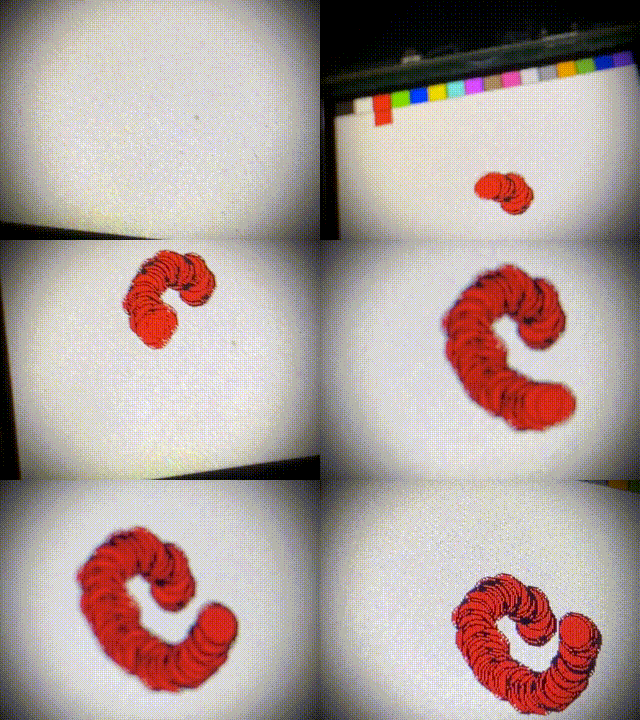
I wonder what would happen if I don’t erase the filled bubble circle?

Wow! Now this is a cool effect. I’m actually drawing on this tiny little CodeX monitor! What about writing a simple paint program instead? BINGO! That’s what I’ll do!
Painting Needs Color
Add a color picker control to display all available colors and a clever way to select a fill color.
 # U button increases brush size
if buttons.was_pressed(BTN_U):
        brush_size += 1
        if brush_size > MAX_BRUSH_SIZE:
            brush_size = MAX_BRUSH_SIZE
# D button decreases brush size
elif  buttons.was_pressed(BTN_D):
     brush_size -= 1
    if brush_size < MIN_BRUSH_SIZE:
       brush_size = MIN_BRUSH_SIZE
Painting Needs Erasing
Well you don't really "erase" a painting, you just paint over your masterpiece with the background color.
# A button erases with a filled white circle
if (buttons.is_pressed(BTN_A)):
    for r in range(1, brush_size):
        display.fill_circle(x, y, r, WHITE)
Painting Needs Accents
A simple white or black outline around the brush will add the perfect subtle lighter or darker accents.
# B button draws with a filled color circle
    elif (buttons.is_pressed(BTN_B)):
        for r in range(1, brush_size):
            display.fill_circle(x, y, r, color_fill)
        display.draw_circle(x, y, brush_size, color_rim)
Commands
- A button erases
- B button draws
- A+B buttons toggle black and white outline
- L button moves color selector to the left
- R button moves color selector to the right
- U button increases brush size (max 25)
- D button decreases brush size (min 1)
- L+R+U+D buttons erase all
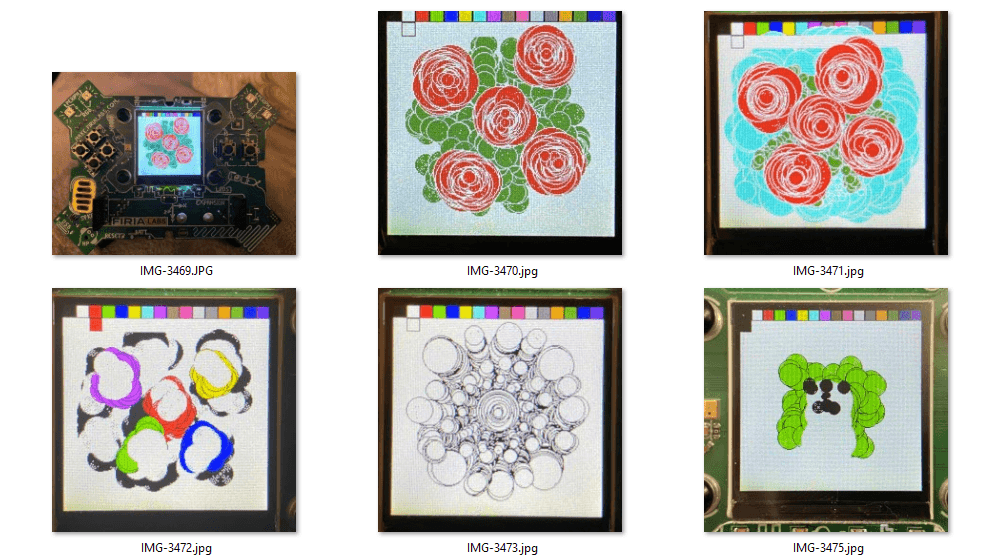
Creations

Python Code:
from codex import *
from time import sleep

# Constants
CENTER = 120
BK_COLOR = WHITE
MIN_BRUSH_SIZE = 1
MAX_BRUSH_SIZE = 50
SWATCH_LIST = [BLACK, WHITE, RED, GREEN, BLUE, YELLOW, CYAN, MAGENTA,
               BROWN, PINK, LIGHT_GRAY, GRAY, ORANGE, DARK_GREEN, DARK_BLUE, PURPLE]
SWATCH_SIZE = int(240 / len(SWATCH_LIST))
FIRST_COLOR = 0
LAST_COLOR = len(SWATCH_LIST)

# Initialize variables
x = CENTER
y = CENTER
brush_size = 15
color_rim = BLACK
color_fill = 0

# Start with a clean white canvas
display.fill(WHITE)

# Function to draw the color picker
def draw_color_picker():
    for color in range(FIRST_COLOR, LAST_COLOR):
        display.fill_rect(color * SWATCH_SIZE, 0, SWATCH_SIZE, SWATCH_SIZE, color)
        display.draw_rect(color * SWATCH_SIZE, 0, SWATCH_SIZE, SWATCH_SIZE, BLACK)

    display.fill_rect(color_fill * SWATCH_SIZE, SWATCH_SIZE, SWATCH_SIZE, SWATCH_SIZE, color_fill)
    display.draw_rect(color * SWATCH_SIZE, 0, SWATCH_SIZE, SWATCH_SIZE, BLACK)

draw_color_picker()

while True:
    # L+R+U+D buttons erase all drawing
    if (buttons.is_pressed(BTN_U) and buttons.is_pressed(BTN_D) and
        buttons.is_pressed(BTN_L) and buttons.is_pressed(BTN_R)):
        display.fill(WHITE)
        draw_color_picker()
        continue

    # U button increases brush size
    if buttons.is_pressed(BTN_U):
        brush_size += 1
        if brush_size > MAX_BRUSH_SIZE:
            brush_size = MAX_BRUSH_SIZE
    # D button decreases brush size
    elif  buttons.is_pressed(BTN_D):
        brush_size -= 1
        if brush_size < MIN_BRUSH_SIZE:
            brush_size = MIN_BRUSH_SIZE

    # L button moves color selector to the left
    if buttons.was_pressed(BTN_L):
        # Erase the previous color selector
        display.fill_rect(color_fill * SWATCH_SIZE, SWATCH_SIZE, SWATCH_SIZE, SWATCH_SIZE, WHITE)
        display.draw_rect(color_fill * SWATCH_SIZE, SWATCH_SIZE, SWATCH_SIZE, SWATCH_SIZE, WHITE)

        # Move color selector one position to the left
        color_fill = color_fill - 1

        # Wrap around to last position if on the far left
        if color_fill < FIRST_COLOR:
            color_fill = LAST_COLOR - 1

        # Draw the filled color rectangle with a black border
        display.fill_rect(color_fill * SWATCH_SIZE, SWATCH_SIZE, SWATCH_SIZE, SWATCH_SIZE, color_fill)
        display.draw_rect(color_fill * SWATCH_SIZE, SWATCH_SIZE, SWATCH_SIZE, SWATCH_SIZE, BLACK)

    # R button moves color selector to the right
    if buttons.was_pressed(BTN_R):
        # Erase the previous color selector
        display.fill_rect(color_fill * SWATCH_SIZE, SWATCH_SIZE, SWATCH_SIZE, SWATCH_SIZE, WHITE)
        display.draw_rect(color_fill * SWATCH_SIZE, SWATCH_SIZE, SWATCH_SIZE, SWATCH_SIZE, WHITE)

        # Move color selector one position to the left
        color_fill = color_fill + 1

        # Wrap around to the first position if on the far right
        if color_fill > LAST_COLOR - 1:
            color_fill = FIRST_COLOR

        # Draw the filled color rectangle with a black border
        display.fill_rect(color_fill * SWATCH_SIZE, SWATCH_SIZE, SWATCH_SIZE, SWATCH_SIZE, color_fill)
        display.draw_rect(color_fill * SWATCH_SIZE, SWATCH_SIZE, SWATCH_SIZE, SWATCH_SIZE, BLACK)

    # Read the accelerometer sensor and get its raw values and convert to degrees in X and Y
    # From Python with CodeX Mission 11: Spirit Level
    val = accel.read()

    tilt_x = val[0]
    tilt_y = val[1]

    scaled_x = (tilt_x / 16384) * 90
    scaled_y = (tilt_y / 16384) * 90

    degrees_x  = int(scaled_x)
    degrees_y  = int(scaled_y)

    # Clamp the X angle to -90 an +90
    if degrees_x < -90:
        degrees_x = -90
    elif degrees_x > 90:
        degrees_x = 90

    # Clamp the Y angle to -90 an +90
    if degrees_y < -90:
        degrees_y = -90
    elif degrees_y > 90:
        degrees_y = 90

    # Set the new brush center with X/Y tilt angles
    x = CENTER + degrees_x
    y = CENTER + degrees_y

    # A+B buttons toggle black and white outline
    if (buttons.is_pressed(BTN_A) and buttons.is_pressed(BTN_B)):
        if color_rim == WHITE:
            color_rim = BLACK
        else:
            color_rim = WHITE

    # A button erases with a filled white circle
    if (buttons.is_pressed(BTN_A)):
        for r in range(1, brush_size):
            display.fill_circle(x, y, r, WHITE)
    # B button draws with a filled color circle
    elif (buttons.is_pressed(BTN_B)):
        for r in range(1, brush_size):
            display.fill_circle(x, y, r, color_fill)
        display.draw_circle(x, y, brush_size, color_rim)
Now what?
Upload the code to your CodeX and make some of your own amazing art! If you have an idea of how to improve the Wet Paint app, then step through the code with CodeSpace’s built-in debugger to better understand what’s going on and write your Python code into reality! Be sure to share your new found creativity in the arts and sciences, and most importantly, have fun!
You can download the complete code from our public repository at Wet_Paint_App (opens in a new tab).